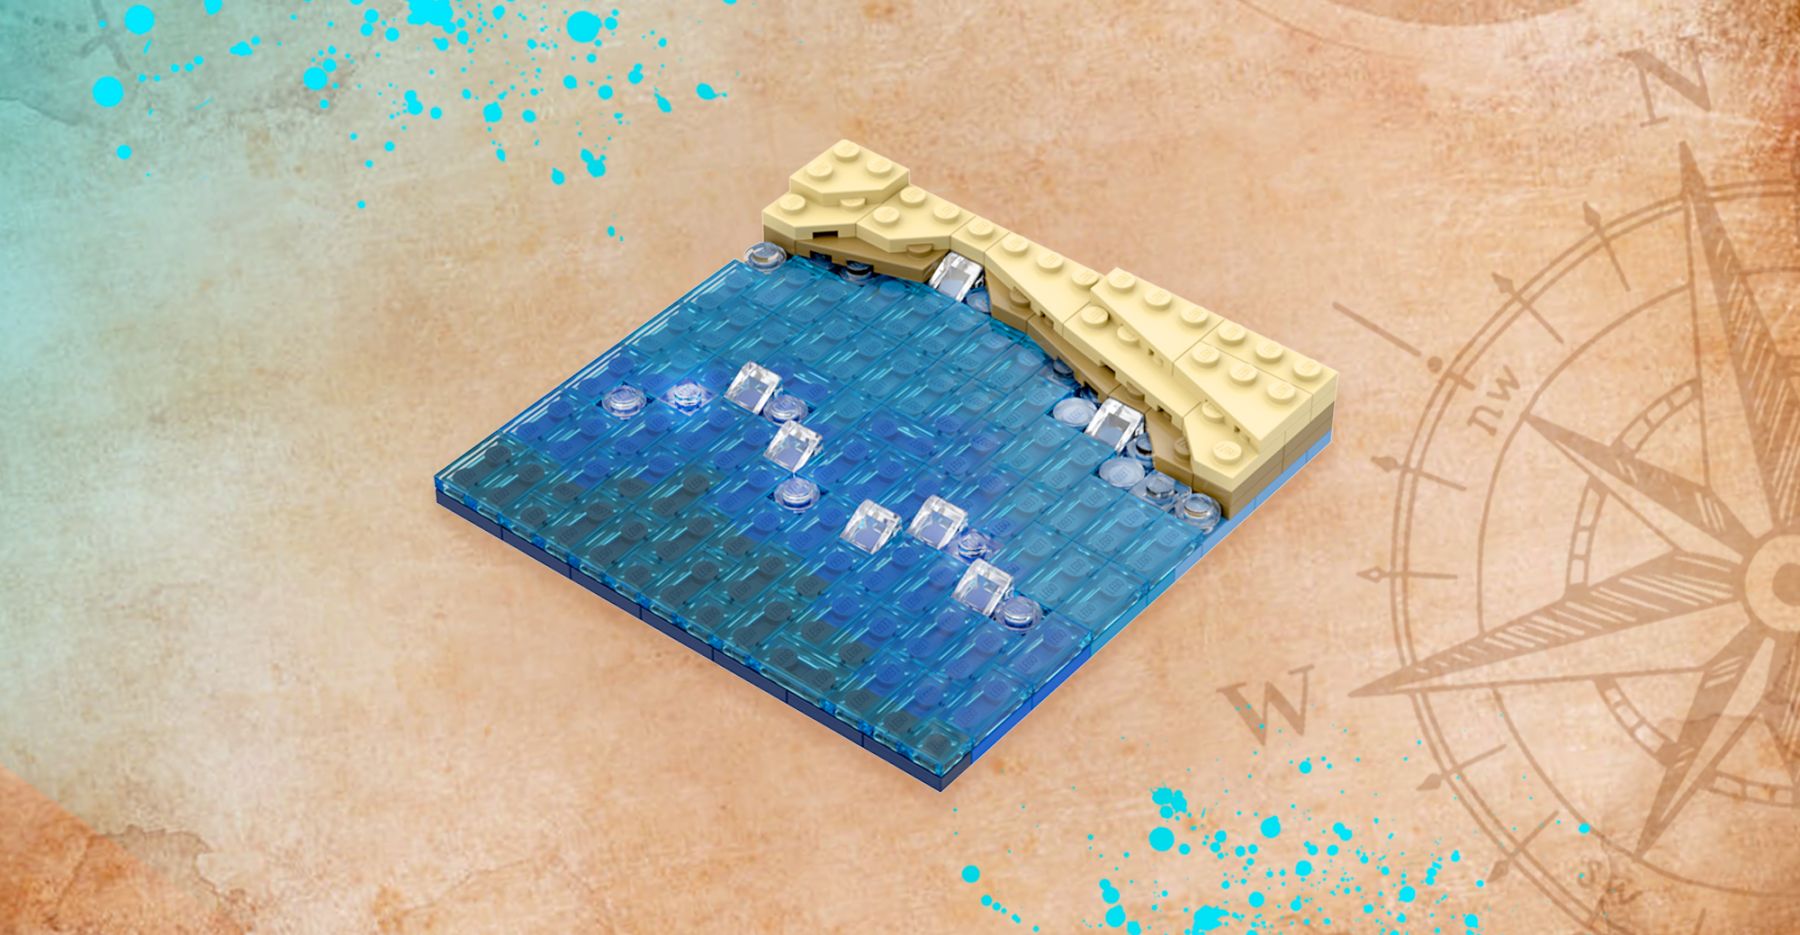
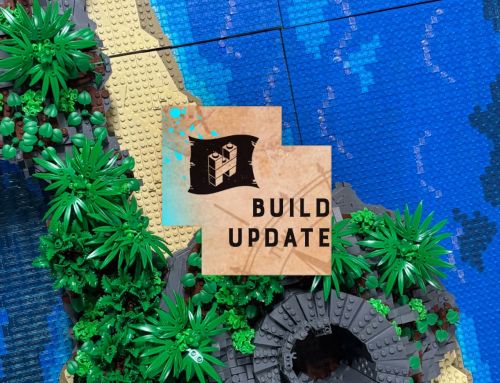
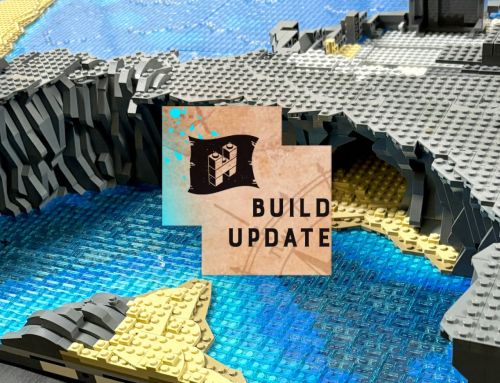
In my current pirate-themed build, Blackskull Archipelago, I am building a lot of water and also shorelines where the water meets sandy beaches.
Because this is a collaborative build it is important that the sections that each person builds are able to match up with those around it, so the actual first step in the building the water was to gain consensus on the colour palette we were going to use.
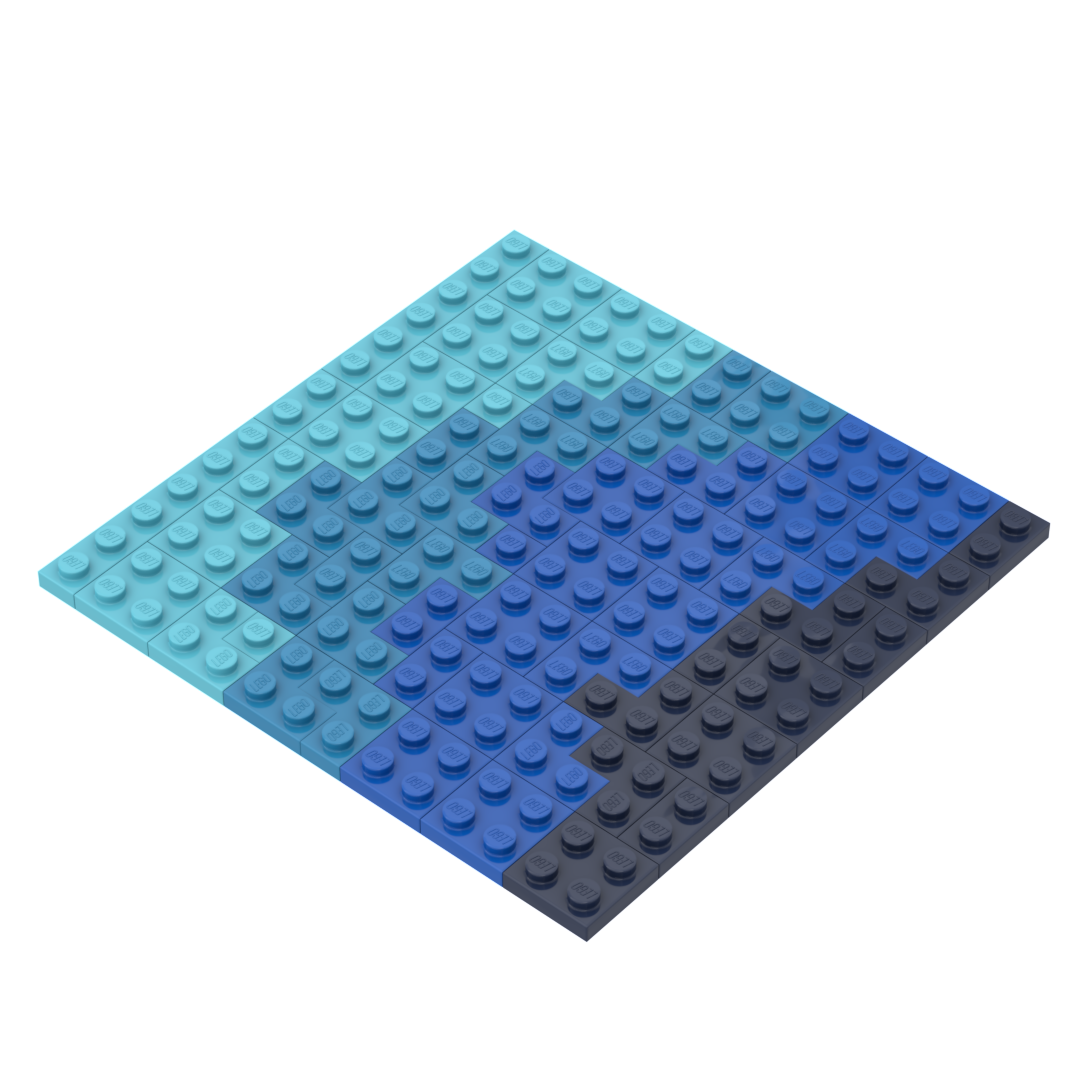
I would like to say that there was a lot of discussion, but in reality a colour scheme was proposed and it was agreed to proceed with it. The agreed palette for water depth is made up of four different blues (dark blue, blue, dark azure and medium azure) where the darkest colour would indicate the deepest water and the lightest colour would indicate the shallows. We also decided on the use of dark tan to represent wet sand at the edge of the water and tan to represent dry sand above that.

Below you will find the step by step process I have used for building all the water areas in my build so far.
1. Water depth detail
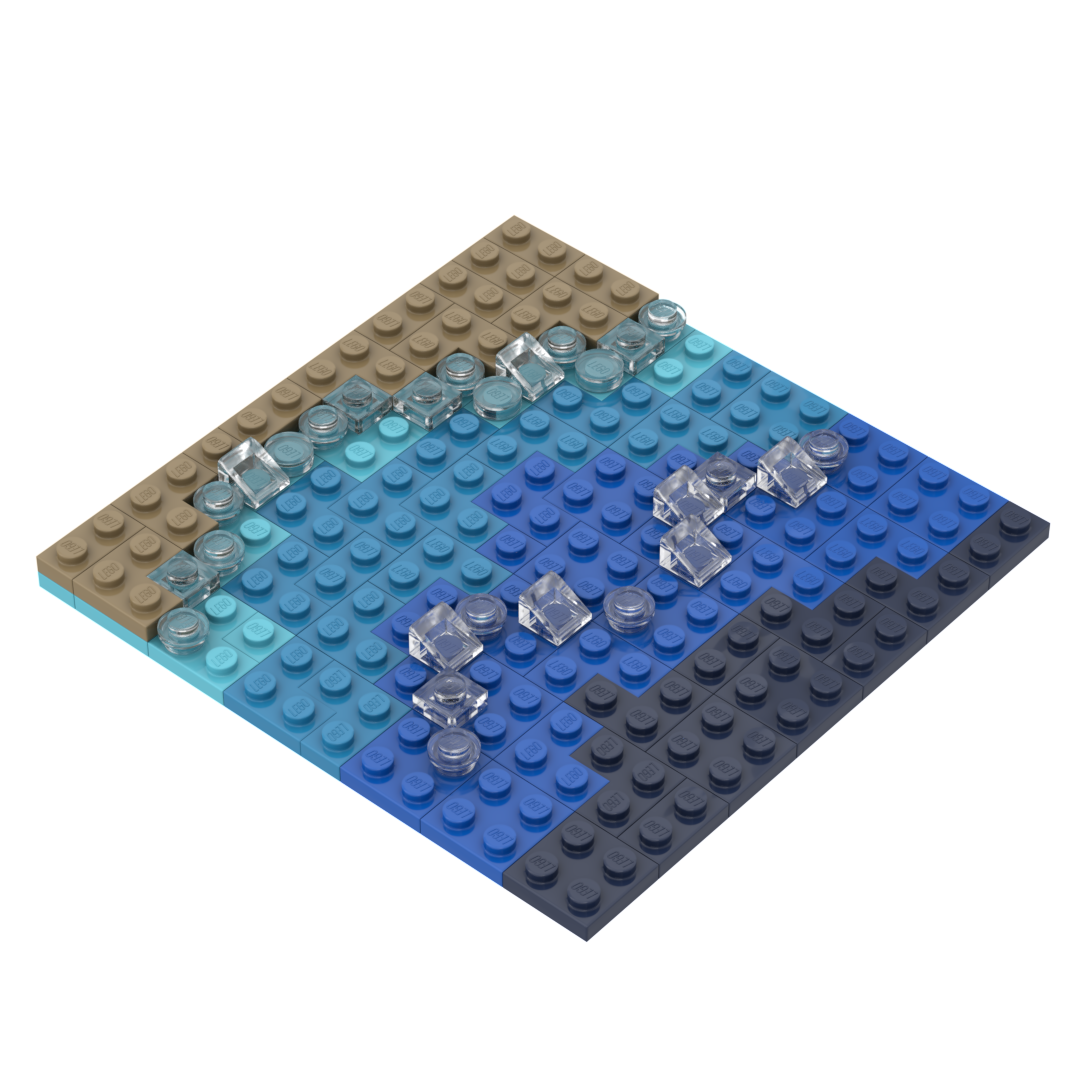
The first step was to build the base layer of the water using the four blues, starting from where the water would be the shallowest, building with medium azure plates of various sizes.
After I had finished the shallows I then built the three further water colours working out from lightest to darkest to create the appearance of depth.
2. Shore line
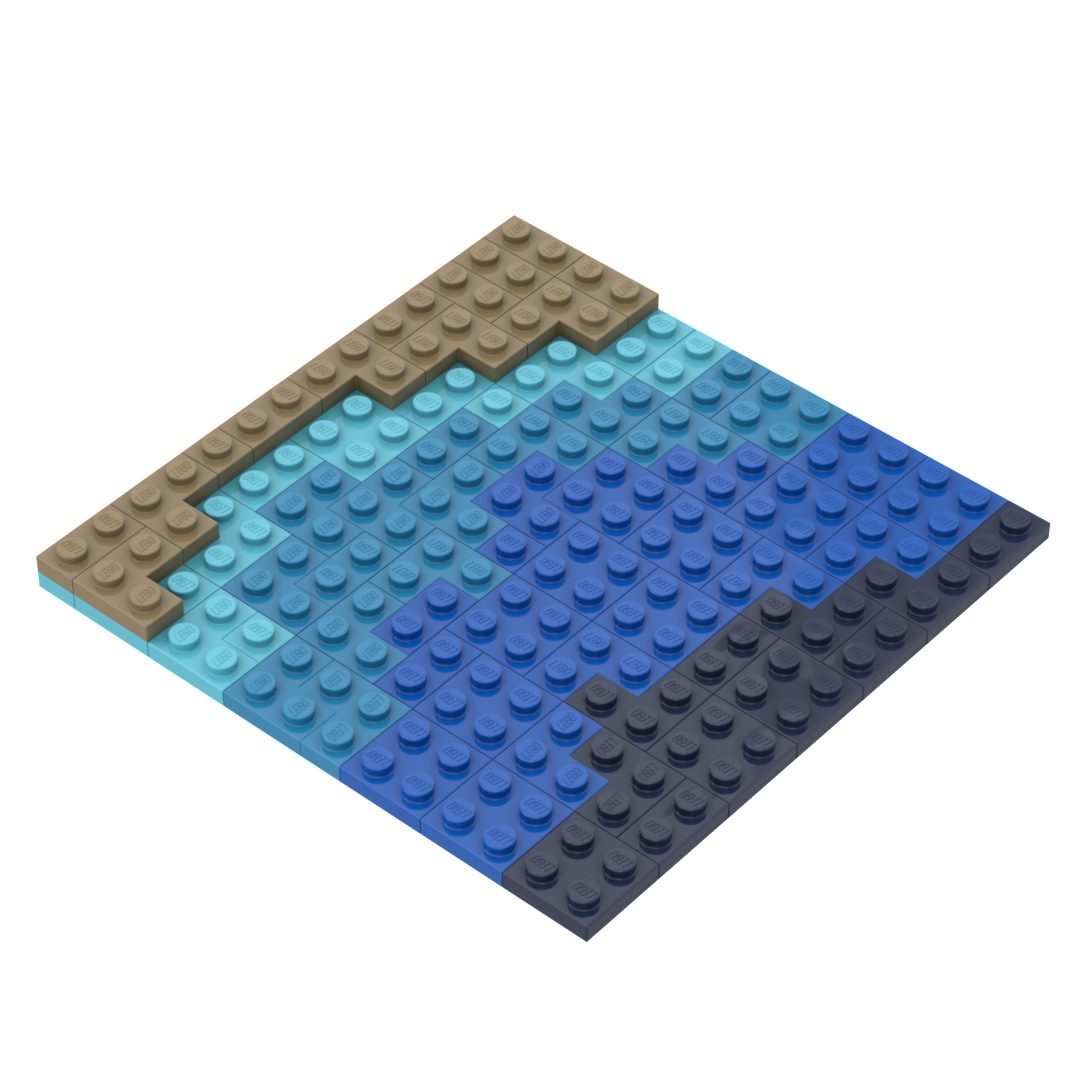
The second step was to build the rough shape of the shore with dark tan plates of various sizes.
3. Waves and foam
The third step was to use various 1×1 trans clear parts (1×1 plates, 1×1 round tiles, 1×1 round plates, and 1×1 cheese slopes) to build along the edge of the shoreline and create some details suggesting the crests of waves and foam.
4. Water surface
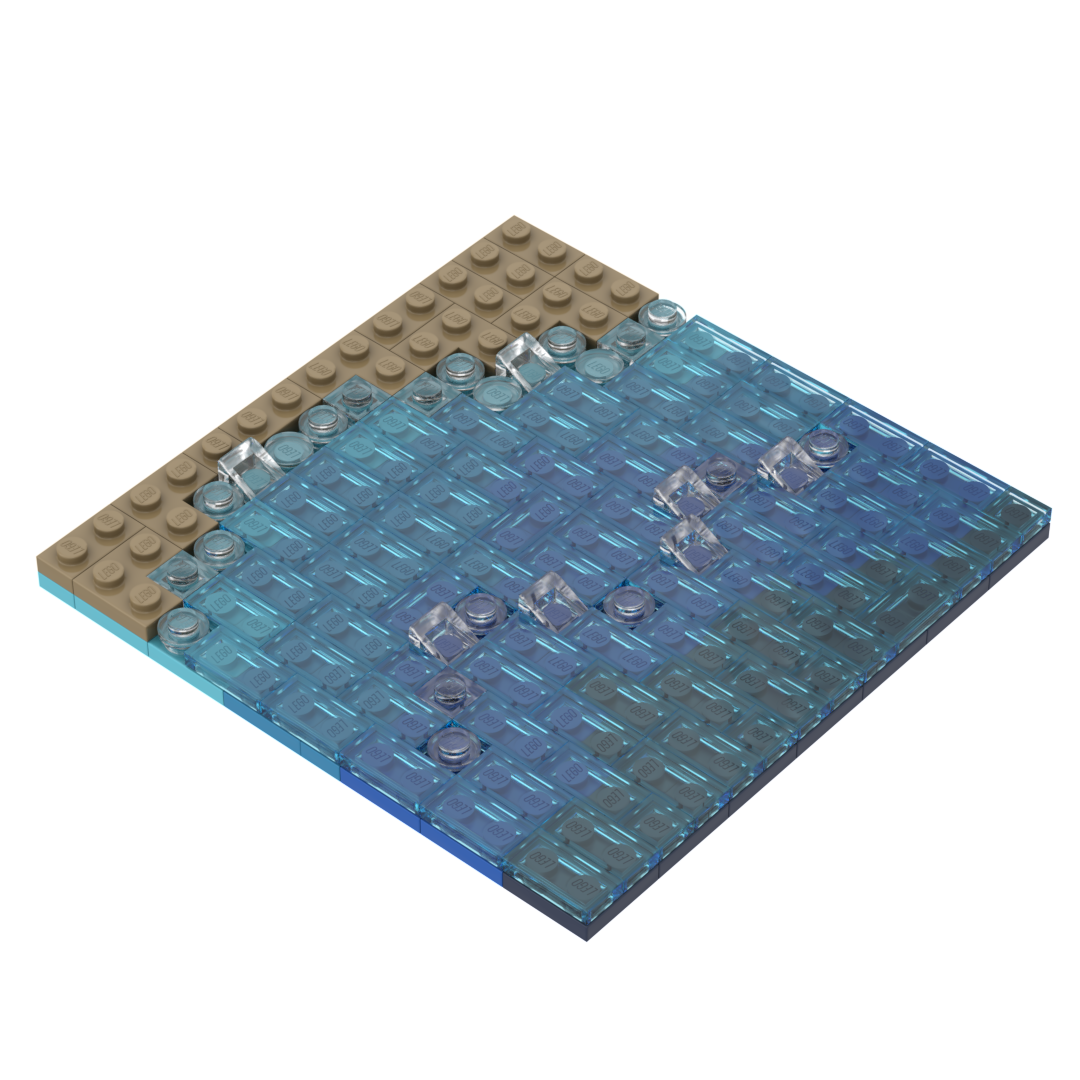
The fourth step was to fill in all the surface of the water with 1×2 and 1×1 trans light blue tiles.
5. Wet sand
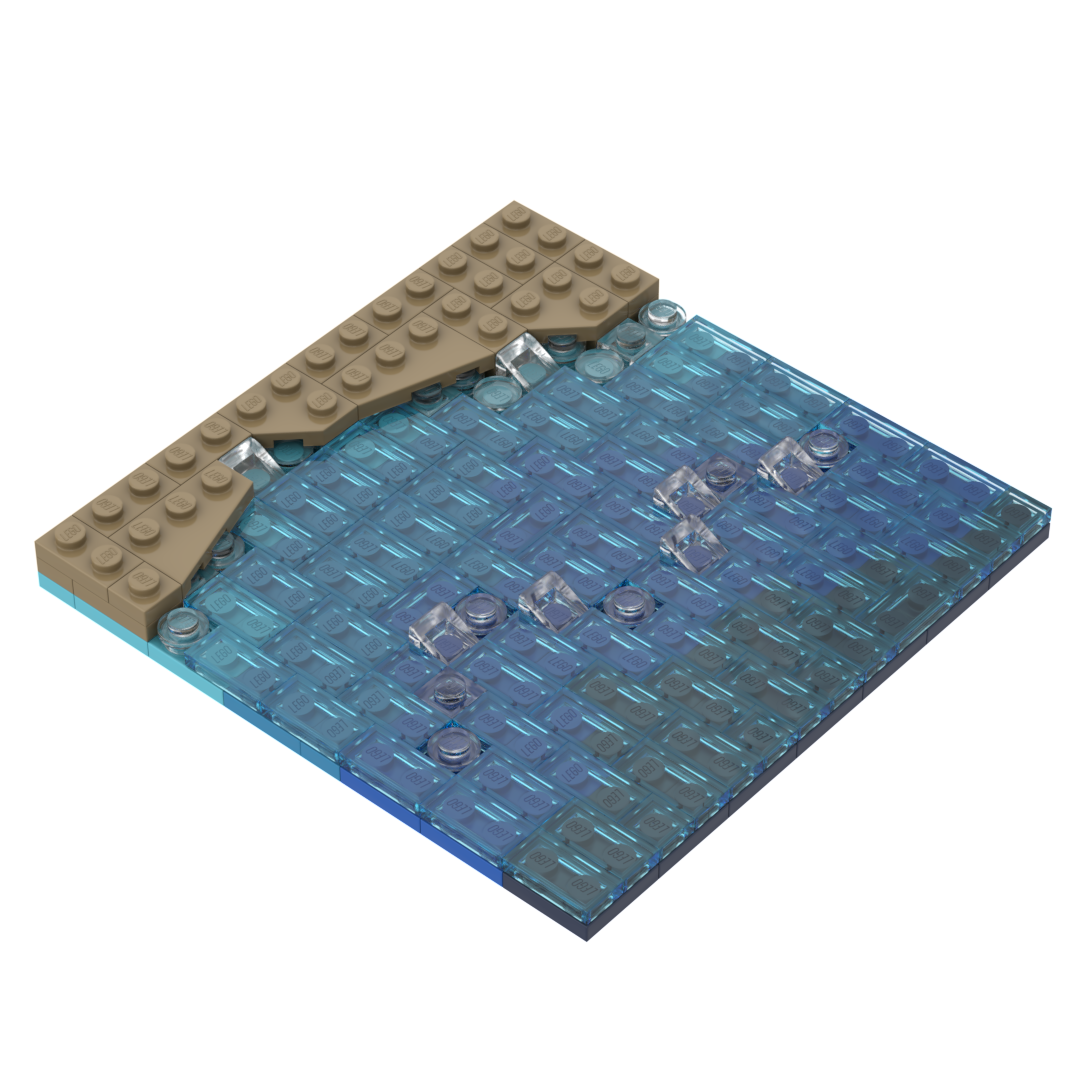
The fifth step was to build up a layer of dark tan wedge plates forming the edge of the wet sand along the shoreline, and fill in the empty space behind them with dark tan plates.
6. Dry sand
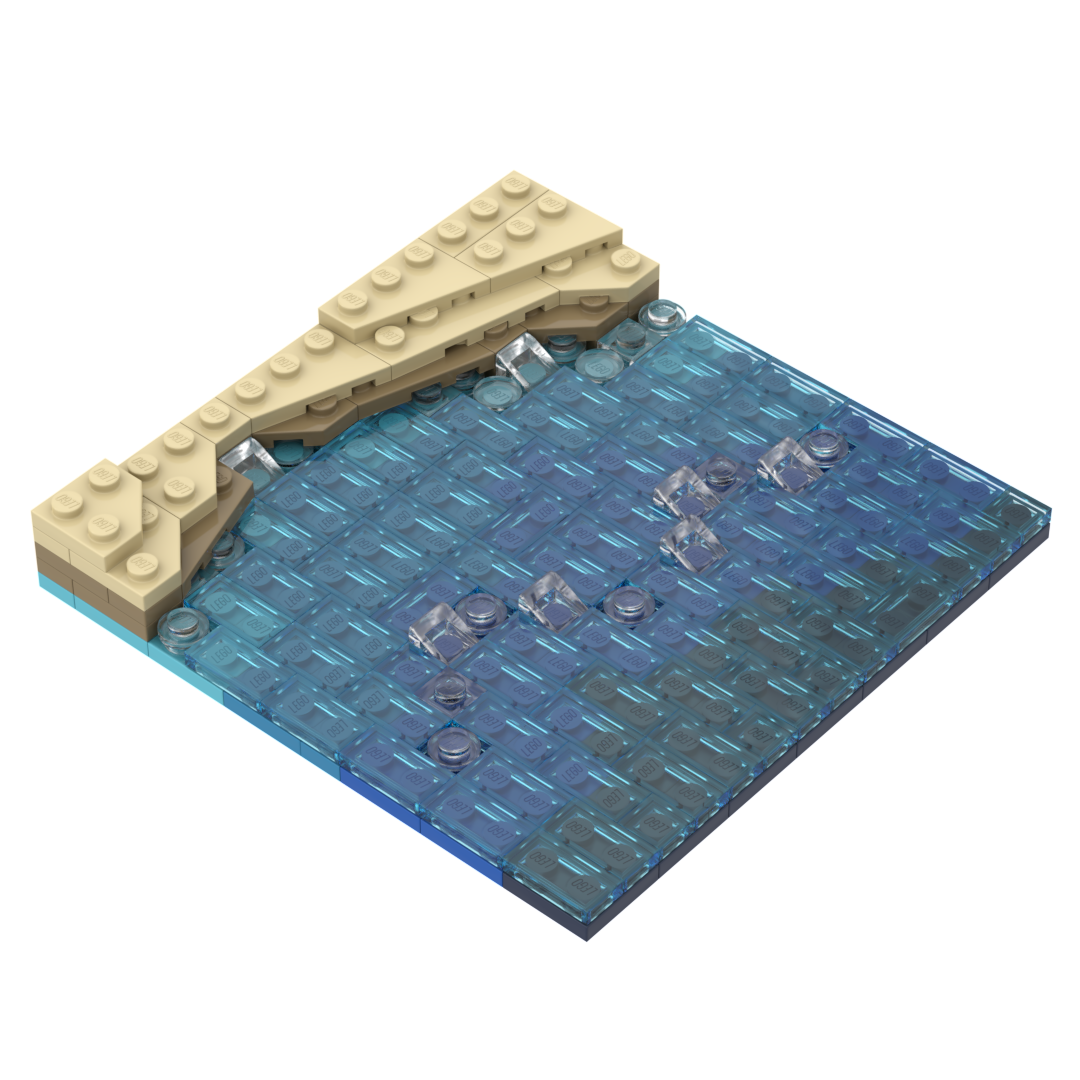
The final step was to use tan wedge plates of various sizes to build in the dry sand detail.
So that is the technique I have used so far for my build, though there is one thing that might change further down the track and that is making sure the edges of the build tie in completely with whoevers build ends up being next to it by changing the depth shading in the water to match.

