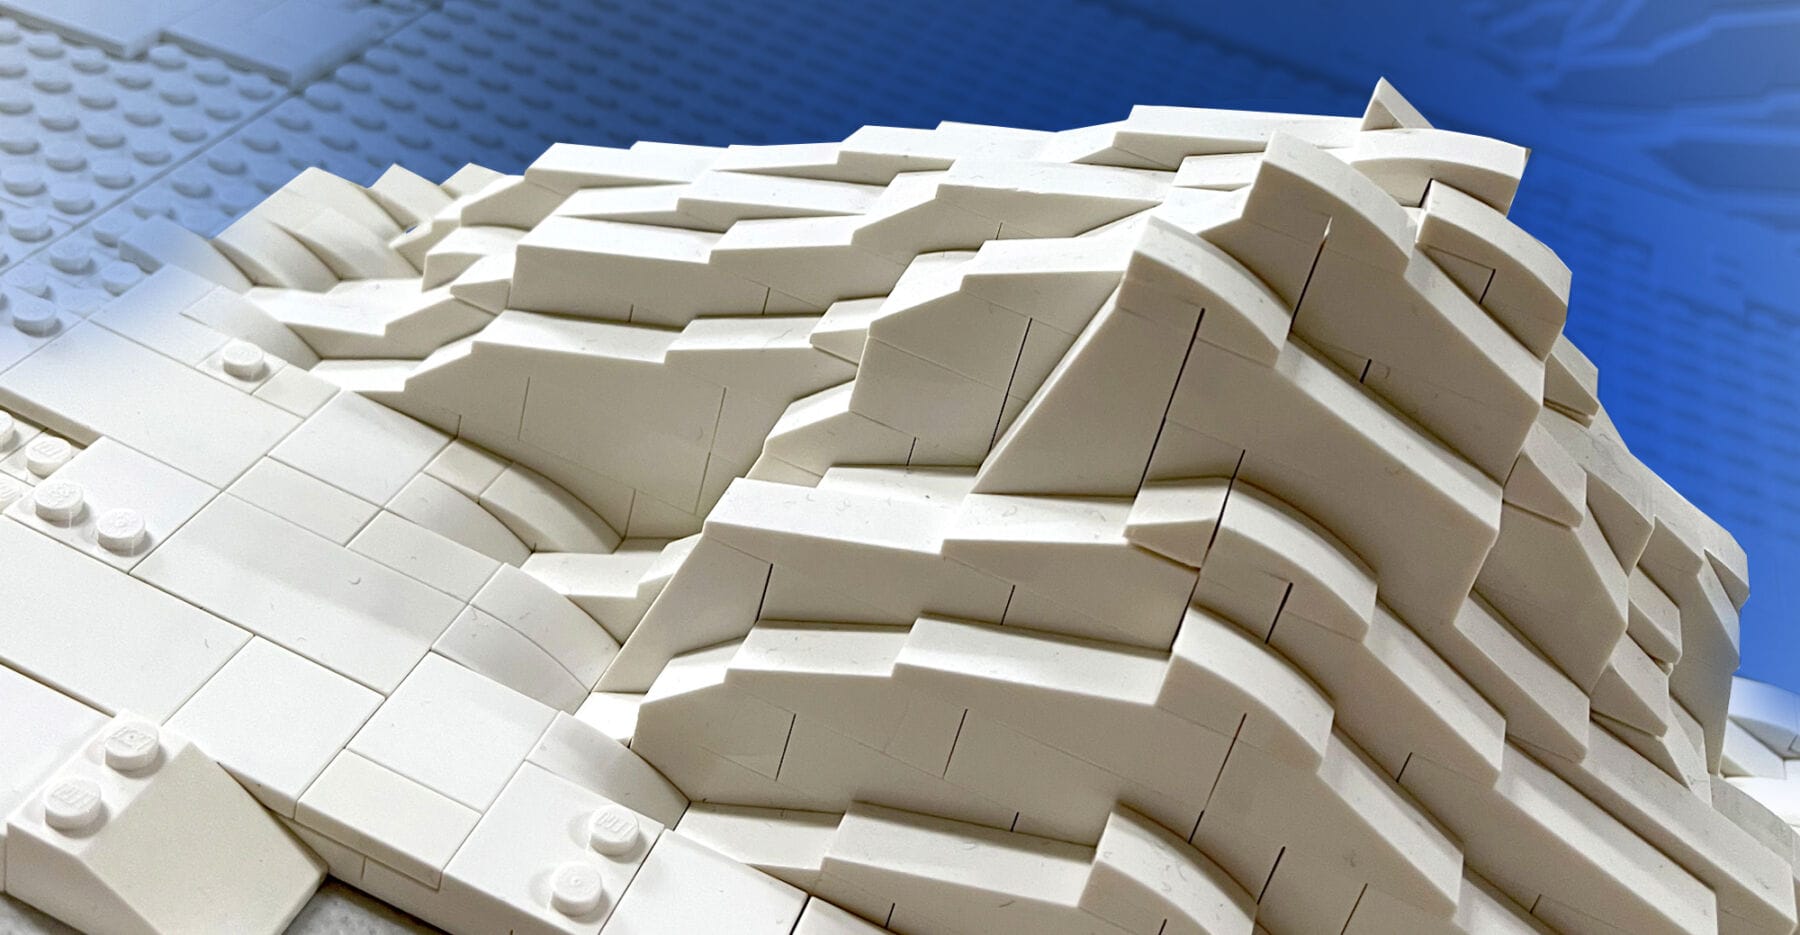
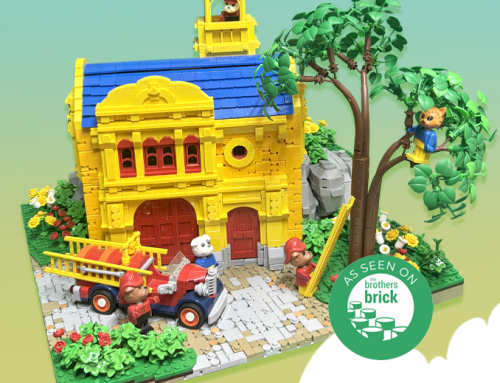
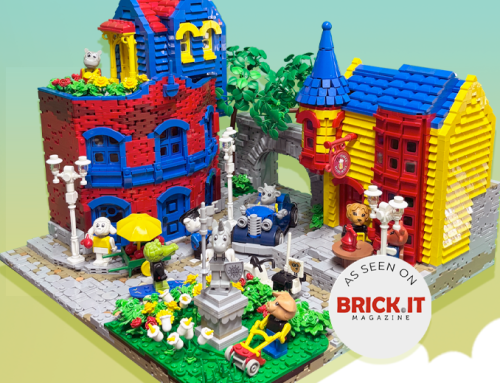
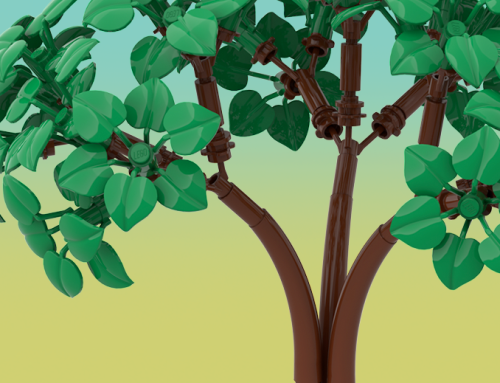
If you have seen my recent builds, A-83 Exploration Base, Edward’s Island and The Fortress of Falkenholt, you will have seen that they share something in common, brick-built terrain and rock work. I love building terrain, and in my current Ice Planet Badlands build I am employing similar techniques to build an icy white landscape. A few people have asked me about the techniques I use for building terrain, so I thought I might take the opportunity to talk about them.
The first step I take – for any of my builds – is to plan out the overall size of the build and then all the things that I want to include, this might take the form of a pencil sketch or a list, making sure I list all the elements and must-haves. When I am reimagining a theme from my childhood – as is the case with the builds listed above – I like to research the original sets for all the features and elements to include and list them to make sure I include them in my finished build.
The second step takes place once I have room on my build table – generally once the previous build has been displayed for the first time and is packed away.
I begin by spreading out baseplates to the size of the footprint of the finished build (my current Ice Planet build will be the same size as my castle build so I can use the same board for display).


My next step is to get the Duplo out!
I was fortunate to have been given an 120 litre tub full of Duplo when I was in the early planning stages of Edward’s Island and I have used it ever since in my builds.
I reckon it is a brilliant way to rough out the underlying forms of terrain as it is light and quick to work with meaning that you can easily change things around until the forms are just right without too much difficulty.
A note about Duplo
 I was surprised to find out recently that some builders do not know that Duplo is part of the LEGO system and made to connect to regular LEGO bricks. When I was a kid there was always a visual reminder in the front few pages of every LEGO catalogue (sometimes even on the cover) showing a Duplo brick connected to a Basic LEGO brick, so it is something that I reckon I have always known about, I just never really used it as a building technique until I started incorporating terrain into my builds.
I have also recently seen some people profess that you shouldn’t use Duplo because it is not as strong as other methods, such as using a grid built from LEGO or Technic bricks – as Duplo does not have the same level of clutch that LEGO bricks have. This is 100% true, Duplo is designed so that young builders can separate the bricks easily, and therefore it has a looser clutch. However, once they are covered and tied down with a layer of LEGO bricks this is no longer an issue.
I also don’t really believe in investing in parts that will be hidden from view, when I already have a great resource ready to be used.
I start roughing in the forms of the landscape, working as quickly as I can to block in where hills, cliffs, etc will be. It helps to be able to look at the landscape as a whole, from different angles, and make decisions as to the composition of the finished build.
Once I have the underlying forms decided on, the next step is to cover the exposed studs of the Duplo bricks with 2×2 and 2×4 basic LEGO bricks.
By covering the studs of the Duplo bricks we are doing two things – first and foremost we are creating a surface that we can attach any LEGO brick to the top of – but we are also strengthening the build by tieing the Duplo bricks together, building across the joins in the bricks to make the form as solid as possible. Further strength and reinforcement will be added as the final terrain elements are built.

Once the exposed studs of the Duplo bricks are completely covered we are ready to start building the visible surface of the terrain.
There are two styles of terrain that I have so far used in my builds, one which is commonly referred to as rockwork, used for mountains and rocky outcrops, and the more gradual sloping terrain that I build from layering wedge plates. I will talk about them both below:
Rockwork
The first style of terrain that I will talk about is the one that I get asked about the most, rockwork. There are many ways that you can approach rockwork in a build, and mine could be considered quite parts intensive, however it does use very simple techniques.

As above we start by blocking in the basic forms of the terrain using Duplo bricks.

Next we cover the top studs on the Duplo bricks with 2×2 and 2×4 LEGO bricks. These can be any colour so long as they will not end up being visible*.

Next we start to visualise each line of slopes, and build up filler bricks where they need to connect to the 2x4s. These can be any colour, so long as they will not end up being visible*.

Next, we lay down the slopes working from the bottom to the top. In this build all of my slopes run in the same direction, but you can mix up the direction of the slopes to create different styles of rockwork.

Now repeat the method for each line of rock. I have a little rule that I follow of not having the same slope appear above or beside a slope of the same type because it gives me the result I want, however you should definitely put your own stamp on this.
* I generally work in the colour of the finished terrain so I don’t have to worry about this.
Gradual sloping terrain
The second style of terrain that I will talk about is the one that I first used in my A-83 Exploration Base build to suggest the lunar surface, but have since adapted to create rolling hills as seen in my Fortress of Falkenholt build.

As above we start by blocking in the basic forms of the terrain using Duplo bricks.

Next we cover the Duplo bricks with 2×2 and 2×4 LEGO bricks, and build up gradual steps around them, allowing enough space for the terrain to step up in increments of 1 plate. These can be any colour so long as they will not end up being visible*.

Next we build up the slope using filler plates, creating an incline of 1 plate steps. The actual width of each step can vary of course, and you will get a more organic looking slope if you build your steps with varied widths. The filler plates can be any colour so long as they will not end up being visible*.

Next we build up layers of wedge plates on top of each step to create the varied organic forms, It helps me to think of the visible edges of the wedge plates as being topographic lines on a map.
* I generally work in the colour of the finished terrain so I don’t have to worry about this.
So, what do you think? I hope this post is of use to you in your terrain building, I’d love to see your progress.
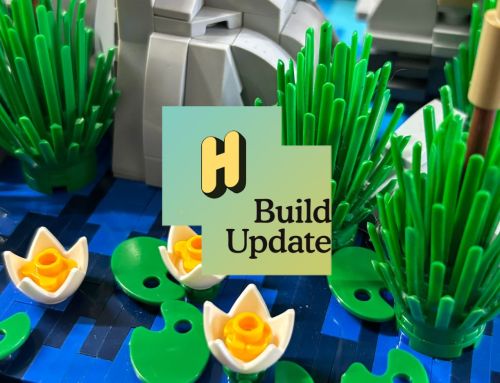
Here are some images of how my build is going so far using these techniques:


Pale grey text makes for eye strain. Can it be darker please?
Thanks Sandra, I had this pointed out to me last night, you will be happy to know that I am going to improve the legibility!
I have increased the size of the type, chosen a weight that is not as fine and darkened the colour.
[…] am envisaging an icy landscape scarred by war, with bombed out buildings and broken war machines, a post-apocalyptic Ice Planet […]